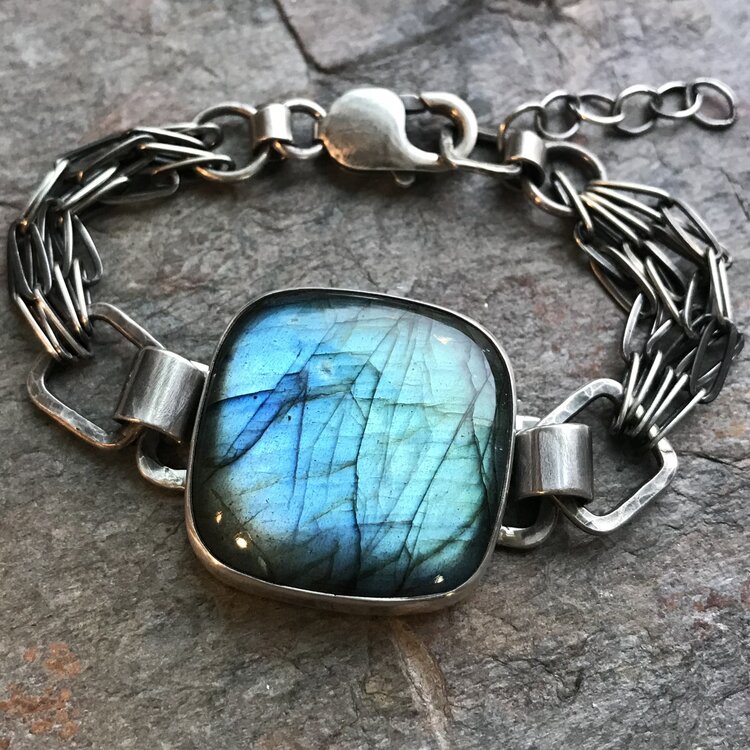
Making a Bracelet
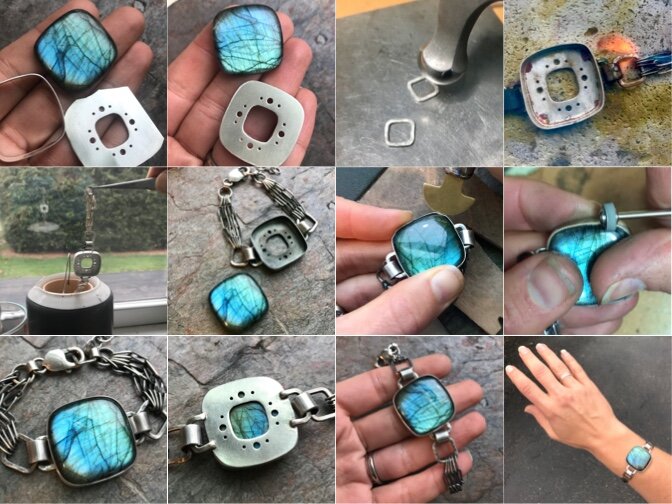
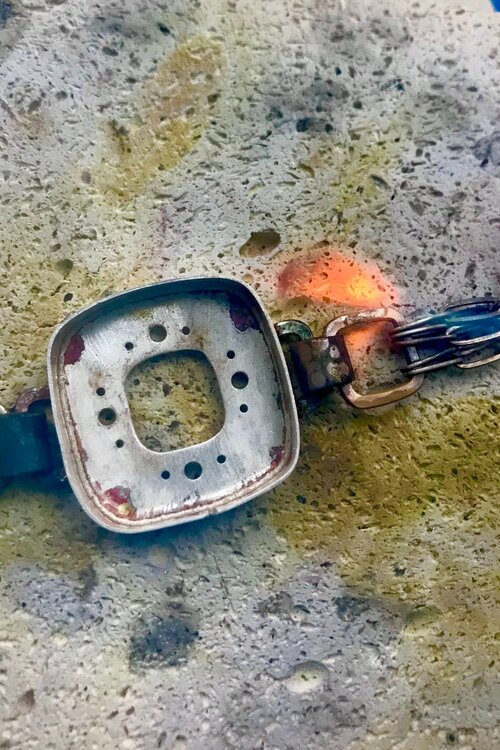
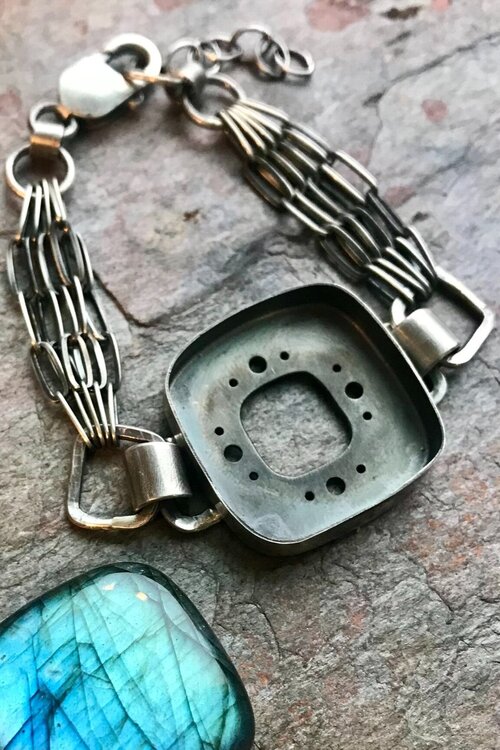
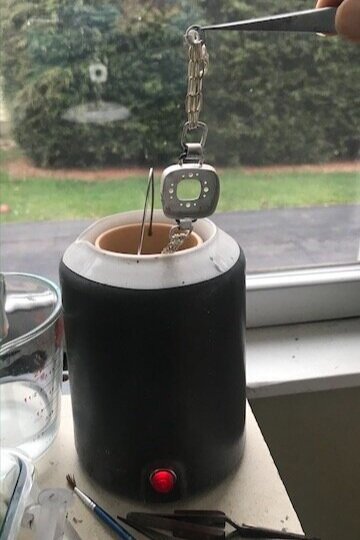
The photos above feature a few process shots which include hammering, soldering, pickling (no mason jars required), and stone setting. The back of this stone was just so beautiful that I hated to keep it hidden. I used my saw and drill to cut out the square and holes on the backplate. Then it is time to solder. After soldering, the surface of the silver can look quite dark. Read on below to see the first step in cleaning the silver.
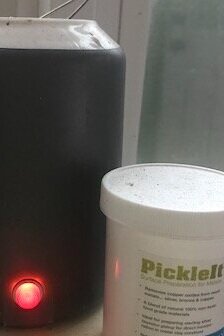
Highlighted Tool: Pickle Pot
Now it’s time to pickle! You might be wondering what is a pickle pot and why on earth do you use it when creating jewelry. A pickling solution helps clean metal after it has been soldered. Some pickle solutions are made with things like vinegar, salt, or citric acid, and the solution typically turns green after multiple uses. This is how jewelry pickle got its name. Pickle works best when it is warm, so a pickle pot is helpful for keeping the solution just the right temperature. Many jewelry makers even use old crock pots to pickle their metal.
There are a few more steps after pickling. After cleaning all solder joins, I oxidized and pre-polish the silver. Then it's time to set the stone and give everything one final polish.