
Making a Pendant

All of my pieces start with an initial idea and sketch. Planning out my pieces beforehand helps me to be more efficient and use materials in a smarter way. While the finished piece may be tweaked or slightly different than my original sketch, going into the fabrication process with a solid plan really eliminates wasted time and materials.
When I begin my design sketch, the first thing I do is trace the actual stone. Then I will draw the shape I want for the backplate. If there are any extra details like a stamped texture, I will add these to my planning sketch as well. It is also really important to plan out the bail at this point. I want all of the soldering to be done before I set the cabochon to avoid damaging the stone, so I need to make sure I have planned how the pendant will attach to the chain.

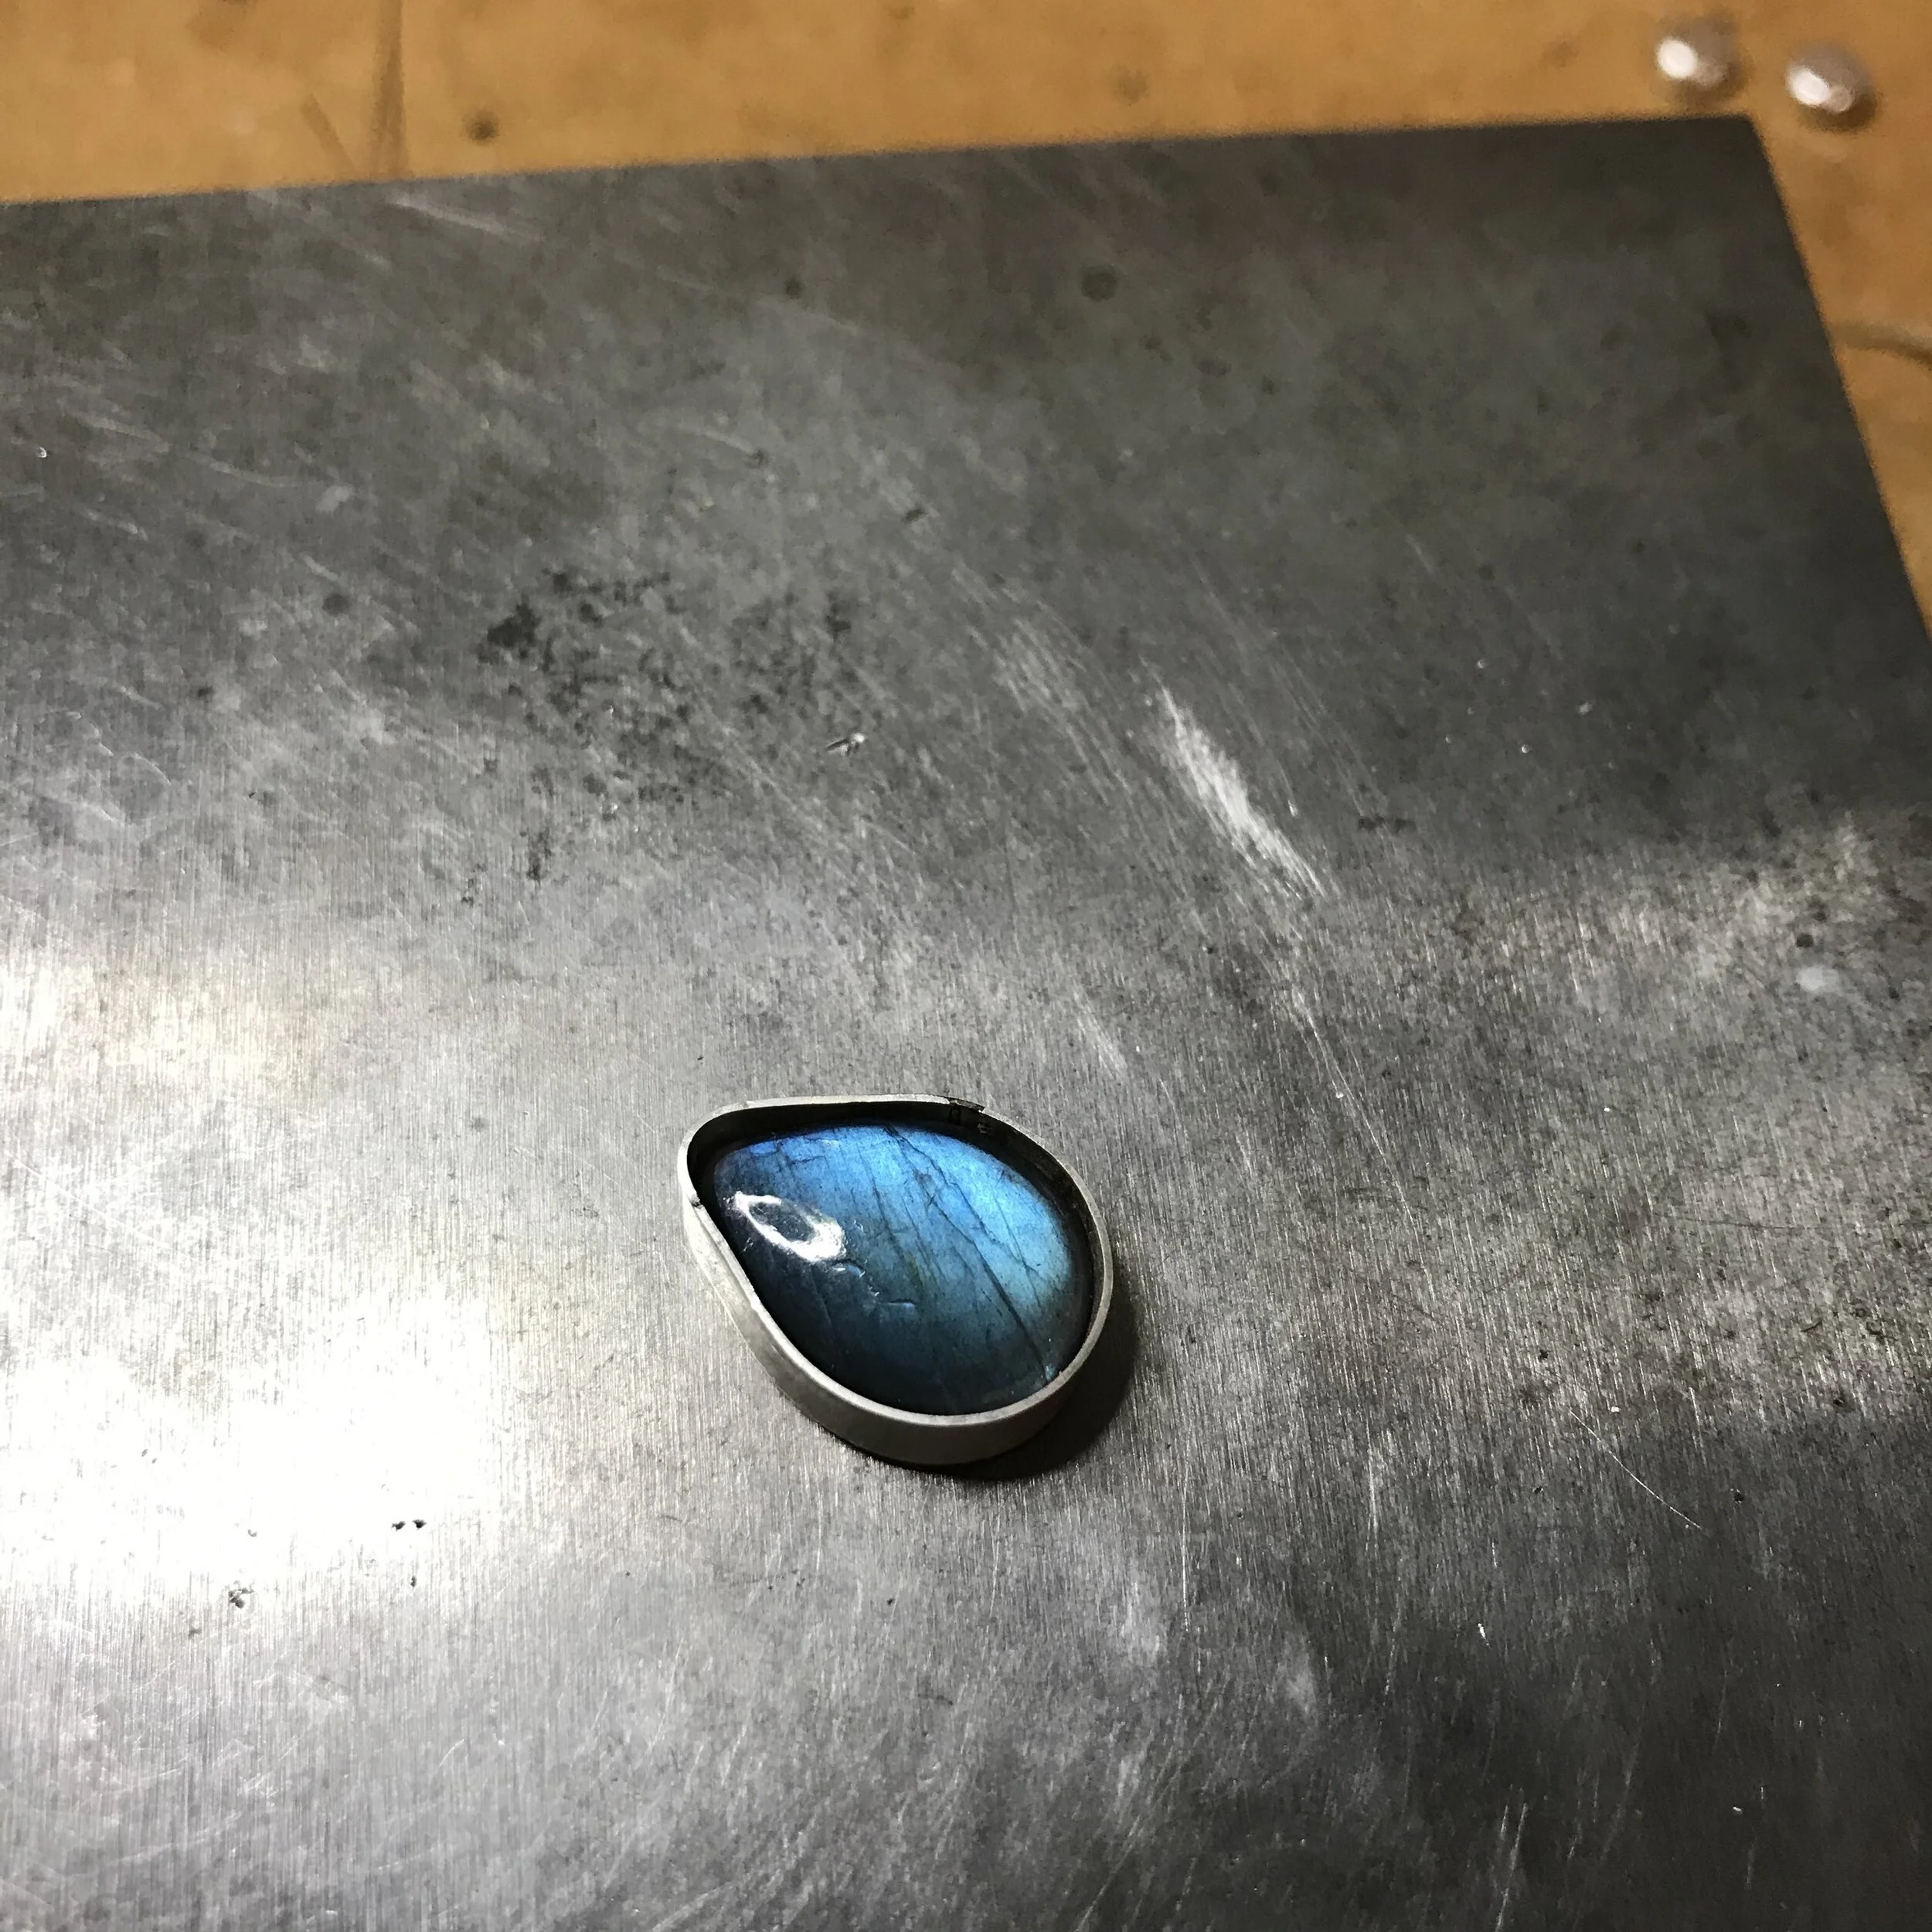


Once my initial planning is done, it is time to form the bezel wire around the shape of the stone and solder the two ends of wire together. Then I create a paper template to trace onto a sheet of silver to help guide me in sawing the backplate. Once I have sawed out the backplate, it is time to plan out the details. I set my bezel on the backplate and use a marker to plan the exact spots where I want to stamp the metal.


After soldering, the piece can look pretty rough, so I like to file the edges and do an initial clean-up of all solder joins. Once things are smoothed out, it is time to add any loops or bails. I head back to my soldering station and solder any remaining pieces. This is also usually the point I solder my Wise nameplate to the back of the piece.


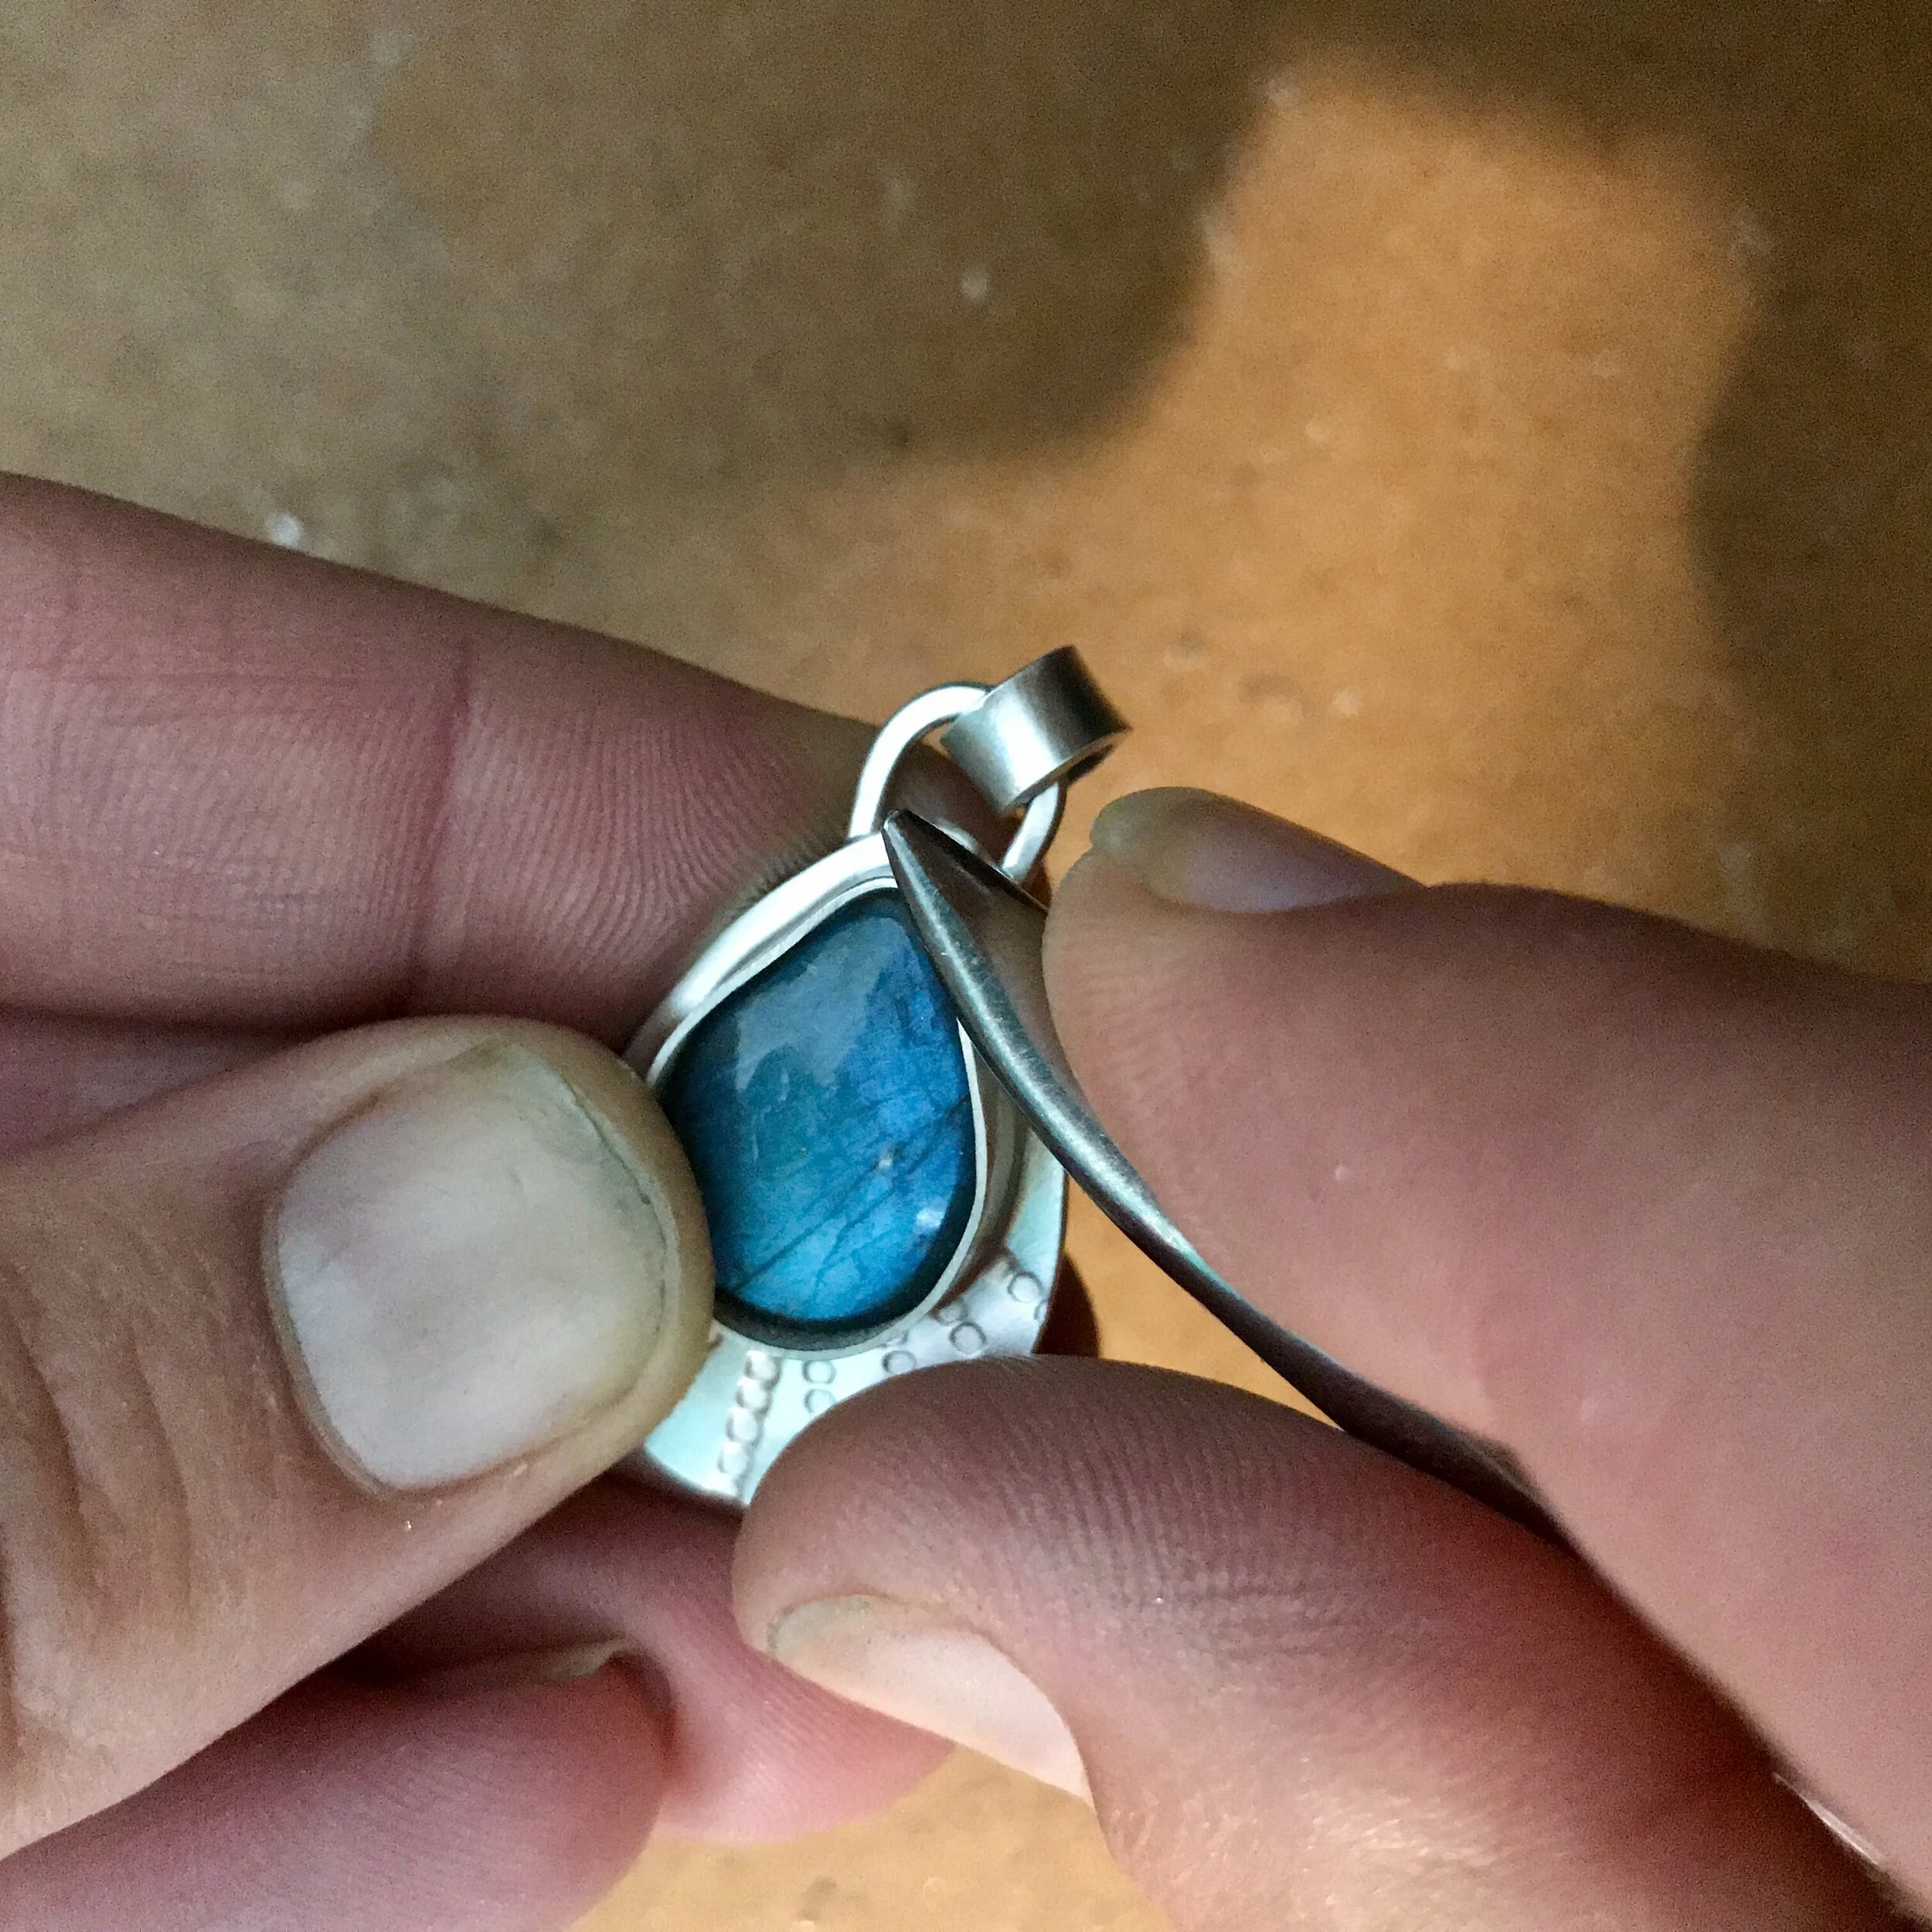
Setting the stone is the next step, and this is my favorite part of the whole process. A lot of work has lead up to this point, and it is where everything finally starts coming together and I can truly envision the finished piece. The first step in setting is to push the bezel down over the stone to hold it in place. After that I use my flex shaft to smooth over the bezel and make it shine.


Now the pendant is ready for its final polish. Sometimes I oxidize the metal to give it an aged patina before this step. Then I use a combination of flex shaft bits and a good old-fashioned polishing cloth to finish up the piece.

From here I can make all final decisions about the chain and clasp. I test the pendant out on a few options and pick the one that seems like the best fit in terms of size, shape, and overall look. I usually recruit my husband for a second opinion at this stage. He typically agrees with me about the chain choice—although I’m not sure if that’s because it’s his true opinion or if he just doesn’t want to disagree with me. ;)

And now the piece is finished and ready to find its new home.